Today, I would like to share a very simple and easy crochet tutorial. A lot of you may already know how to make flowers that are very similar to these, but for those of you who don't I am excited to show you how!!

So, lets get started. You will only need a few supplies to make these simple flowers.
Materials Needed:
-Any size crochet hook. I used a size H for my flowers. If you would like larger flowers, use a larger hook. If you would like smaller flowers, use a smaller hook. You could even use a tiny hook and crochet thread for a newborn embellishment.
-Worsted Weight #4 yarn. I like to use 100% cotton yarn when I am making flowers, but you can use any kind of yarn for these and they will be beautiful!! You can also use a more bulky yarn for a larger flower. This pattern has endless possibilities! I like to buy my yarn online at fabric.com, because if you spend $35 or more, you get free shipping! I usually spend at liest $35 :) I like to use Peaches & Creme Yarn, or Sugar 'N Cream Yarn .
Abbreviations:
ch: chain
sl st: slip stitch
trc: triple crochet
Instructions:

 (ch 3, trc in the loop, ch 3, sl st in the loop) repeat 4 more times
 Here is your first petal
 When you are finished, you should have 5 flower petals. Fasten off, and weave in your loose ends.
 I like to use these little flowers for a lot of different things. I sew them on bags, pacifier clips, skirts, backpacks, hats, scarves, shirts, and headbands.


 But, my favorite use for them is to glue them onto a clip to make a cute springy hair clip. I buy my hair clips online at the Ribbon Retreat. Go visit them, they have so many amazing craft items that you can buy! There are quite a few really cute tutorials for fabric, and ribbon flowers on their website too. I will be posting pictures of a few that I have made soon!

So, lets get started. You will only need a few supplies to make these simple flowers.
Materials Needed:
-Any size crochet hook. I used a size H for my flowers. If you would like larger flowers, use a larger hook. If you would like smaller flowers, use a smaller hook. You could even use a tiny hook and crochet thread for a newborn embellishment.
-Worsted Weight #4 yarn. I like to use 100% cotton yarn when I am making flowers, but you can use any kind of yarn for these and they will be beautiful!! You can also use a more bulky yarn for a larger flower. This pattern has endless possibilities! I like to buy my yarn online at fabric.com, because if you spend $35 or more, you get free shipping! I usually spend at liest $35 :) I like to use Peaches & Creme Yarn, or Sugar 'N Cream Yarn .
Abbreviations:
ch: chain
sl st: slip stitch
trc: triple crochet
Instructions:
ch 4, join with a sl st to form a ring (or you can make a magic loop)

 (ch 3, trc in the loop, ch 3, sl st in the loop) repeat 4 more times
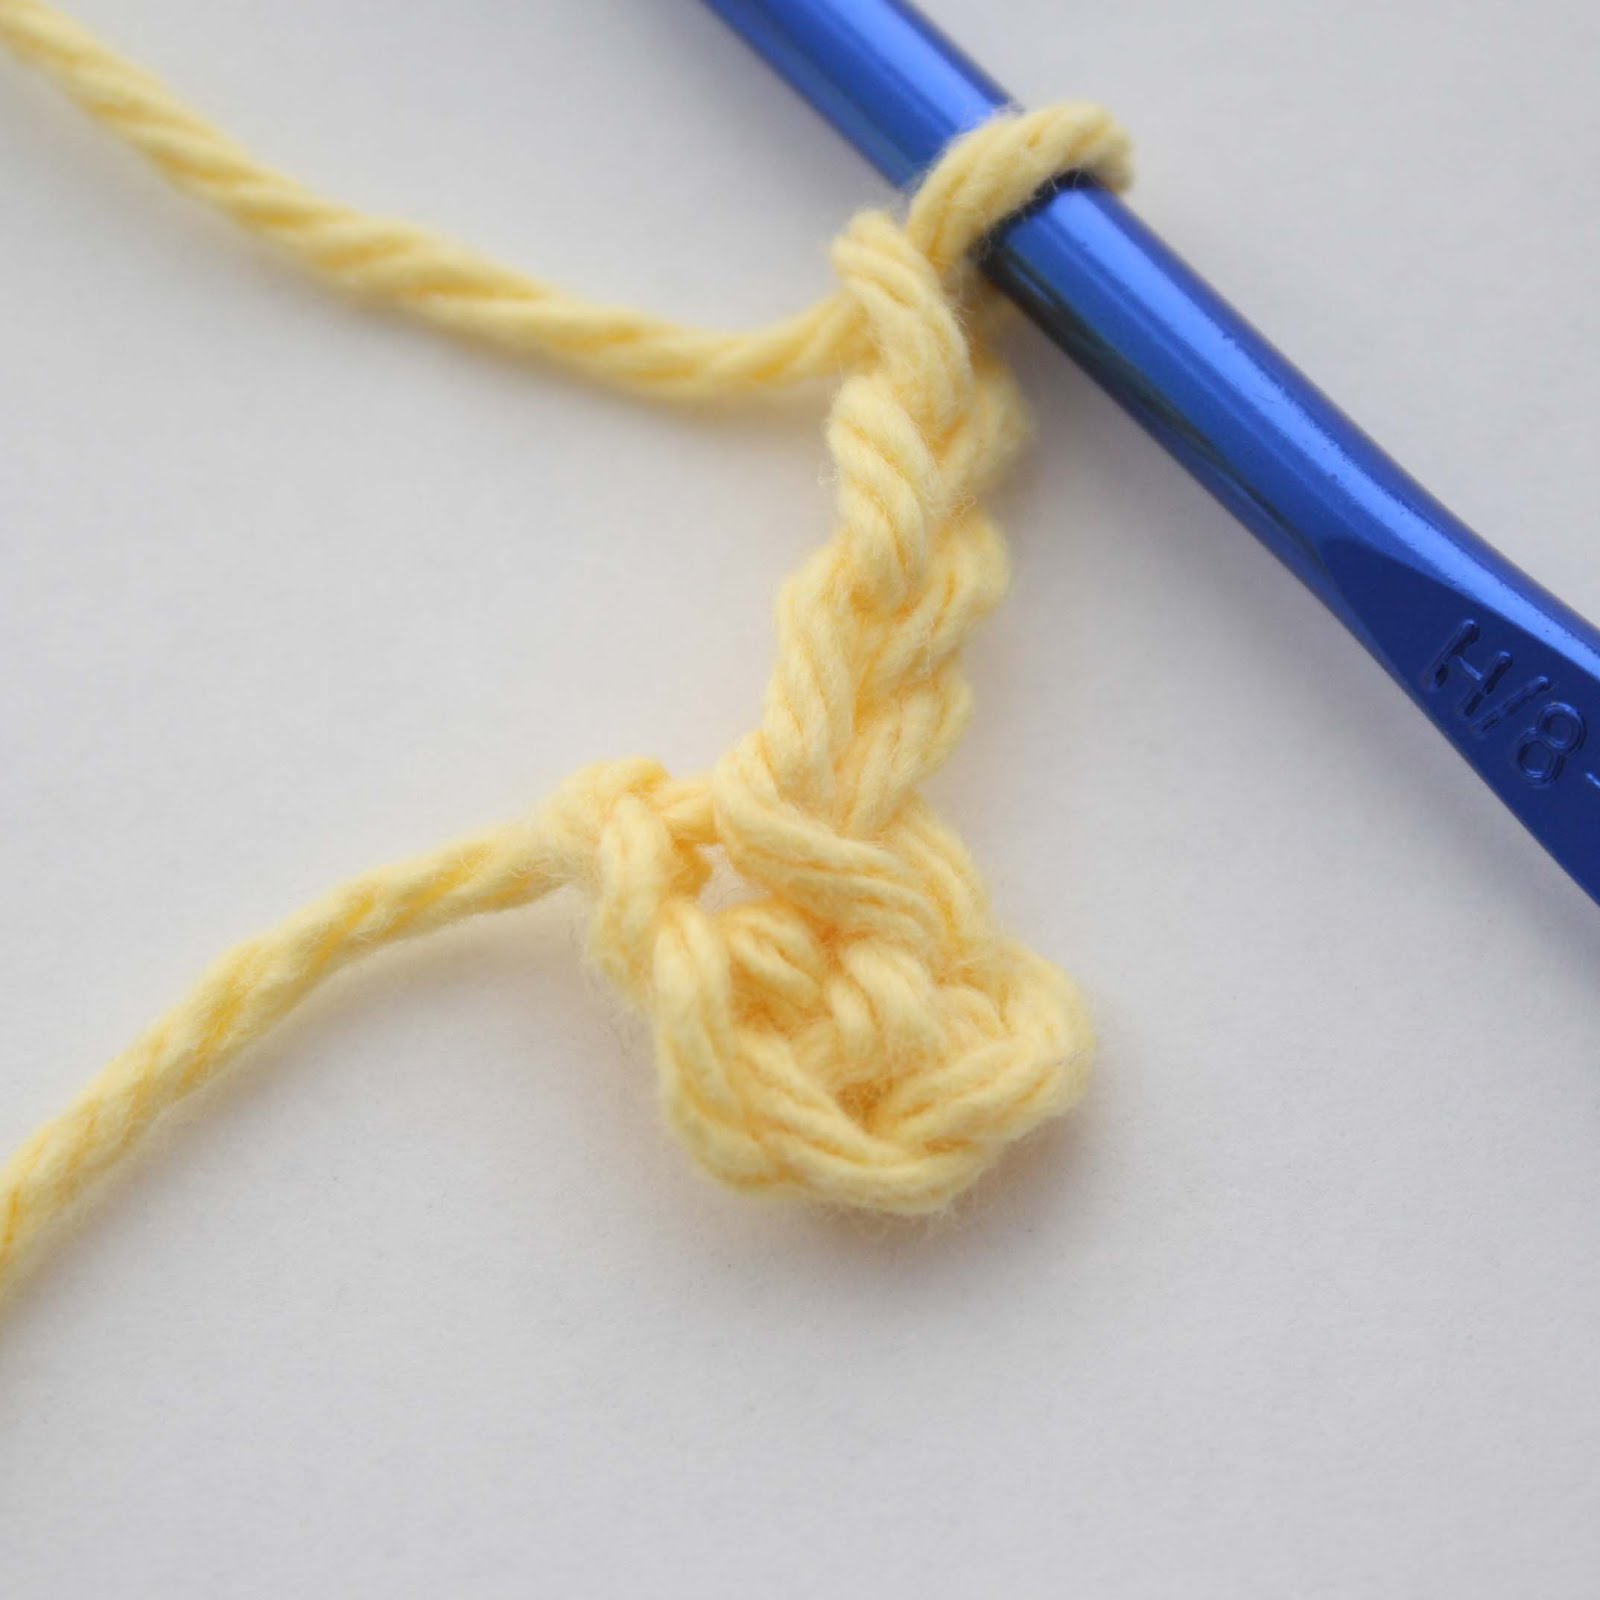 Here is your first petal
 When you are finished, you should have 5 flower petals. Fasten off, and weave in your loose ends.
 I like to use these little flowers for a lot of different things. I sew them on bags, pacifier clips, skirts, backpacks, hats, scarves, shirts, and headbands.


 But, my favorite use for them is to glue them onto a clip to make a cute springy hair clip. I buy my hair clips online at the Ribbon Retreat. Go visit them, they have so many amazing craft items that you can buy! There are quite a few really cute tutorials for fabric, and ribbon flowers on their website too. I will be posting pictures of a few that I have made soon!


Thank you so much for this flower tutorial! This is exactly what I have been looking for! I'm a new crocheter & have been looking for just this type of simple, basic flower! There are so many out there, it's just too overwhelming to a beginner like me. . . thank you again!
ReplyDeleteYou are very welcome! I am hoping to add a lot more small patterns, and learning tutorials for beginners soon!!
DeleteThank you for posting this! I needed a really easy flower that I could make a bizzillion of really quickly and this was perfect! I'm using the flowers in a yarn bomb :) Thanks again!
ReplyDeleteI am also a new crocheter & needed a flower that I could make easily like this. Thank You
ReplyDeleteAlso a new crocheter...love that I found your site..so easy after your explanation..thanks again!!
ReplyDelete