

Today I am sharing a really fun pattern! My mom is my inspiration for this pattern. She has been collecting bears for as long as I can remember :)
Please click here for policies and terms of use.
Abbreviations:
Ch: chain
Hdc: half double crochet
Sc: single crochet
Dc: double crochet
Sl st: slip stitch
St: stitch
Fpdc: front post double crochet
Bpdc: back post double crochet
Materials Needed:
-Bulky Yarn: I used Joann Sensations
Beautiful Yarn for the bear. You will
need approx. 140 yards (2 skeins). Here
is a link to where I purchase mine online: http://www.joann.com/jo-ann-sensations-beautiful-yarn/prd33457/
-Sport, Baby
Yarn for the sweater. I used Bernat Baby
Yarn for my sweater.
-Small amount of
black worsted weight yarn for the nose (optional)
-Crochet Hook Size: H for the bear, F
for the sweater
-Sharp Needle for sewing pieces together
-¼” buttons for the sweater
-Stuffing
Notes:
-I tend to crochet a lot tighter when I am making stuffed animals
so that the stuffing won’t show through.
Be sure to check your gauge so that your sweater will fit your bear when
you are finished.
-Gauge for the bear: 7 sts x 7 rows=2” (5 cm) If your gauge is not
right, go up or down a size crochet hook in order to get the right gauge.
-Gauge for the sweater: 8 sts x 7 rows=2” (5 cm)
-Crochet over your loose ends as you go along so you won’t have as
many to weave in when you are done with your project.

Make a magic ring, ch 1
Rnd 1: 6 sc in the magic ring (6 sc)
Rnd 2: 2 sc in each st around (12
sc)
Rnd 3: 2 sc in each st around (24
sc)
Rnd 4: (2 sc in the next st, sc in
the next 2 sts) around (32 sc)
Rnd 5: sc in each st around (32 sc)
Rnd 6: (2 sc in the next st, sc in
the next 3 sts) around (40 sc)
Rnd 7-14: sc in each st around (40
sc)
Rnd 15: (sc next 2 sts together, sc
in the next 3 sts) around (32 sc)
Insert the eyes between Rnds 8 and
9. I spaced mine about ½” apart.
Rnd 16: (sc next 2 sts together, sc
in the next 2 sts) around (24 sc)
Rnd 17: (sc next 2 sts together)
around (12 sc)
Stuff the head firmly
Rnd 18: sc in each st around (12 sc)
Rnd 19: 2 sc in each st around (24 sc)
Rnd 20-21: sc in each st around (24
sc)
Rnd 22: (2 sc in the next st, sc in
the next 2 sts) around (32 sc)
Rnd 23-24: sc in each st around (32
sc)
Rnd 25: (2 sc in the next st, sc in
the next 3 sts) around (40 sc)
Rnd 26-33: sc in each st around (40 sc)
Rnd 34: (sc the next 2 sts together,
sc in the next 3 sts) around (32 sc)
Rnd 35: (sc the next 2 sts together,
sc in the next 2 sts) around (24 sc)
Rnd 36: (sc the next 2 sts together)
around (12 sc)
Stuff the body firmly.
Rnd 37: (sc the next 2 sts together) around (6 sc)
Fasten off and close up the hole
with the yarn end, weave in your loose end.
Rnd 1: 6 sc in the magic ring (6 sc)
Rnd 2: 2 sc in each st around (12
sc)
Rnd 3: 2 sc in each st around (24
sc)
Rnd 4: (2 sc in the next st, sc in
the next 2 sts) around (32 sc)
Rnd 5-7: sc
in each st around (32 sc)
Fasten off, leaving a long tail to
sew the muzzle to the head.

Make a magic ring, ch 1
Rnd 1: 6 sc in the magic ring (6 sc)
Rnd 2: 2 sc in each st around (12
sc)
Rnd 3: (2 sc in next st, sc in the
next st) around (18 sc)
Rnd 4-6: sc in each st around (18
sc)
Rnd 7: (sc the next 2 sts together,
sc in the next st) around (12 sc) remove your safety pin, sl st into the next
st to join, fasten off leaving a long tail to sew the ear to the head.

Ch 5
Rnd 1: 3 sc in the 2nd ch
from the hook, sc in the next 2 sts, 3 sc in the next st, now working
underneath your stitches, sc in the last 2 sts (10 sc)
Rnd 2: 2 sc in each of the next 3
sts, sc in the next 2 sts, 2 sc in each of the next 3 sts, sc in the next 2 sts
(16 sc)
Rnd 3: 2 sc in each of the next 6
sts, sc in the next 2 sts, 2 sc in each of the next 6 sts, sc in the next 2 sts
(28 sc)
Rnd 4-5: sc in each st around (28
sc)
Rnd 6: (sc the next 2 sts together)
repeat 5 more times, sc in the next 16 sts (22 sc)
Rnd 7: (sc the next 2 sts together)
repeat 2 more times, sc in the next 16 sts (19 sc)
Rnd 8: sc the next 3 sts together,
sc in the next 16 sts (17 sc)
Rnd 9-13: sc in each st around (17
sc)
Fasten off, leaving a long tail to
sew the leg to the body.

Make a magic ring, ch 1
Rnd 1: 6 sc in the magic ring (6 sc)
Rnd 2: 2 sc in each st around (12
sc)
Rnd 3: (2 sc in the next st, sc in
the next st) around (18 sc)
Rnd 4-6: sc in each st around (18
sc)
Rnd 7: (sc the next 2 sts together,
sc in the next st) around (12 sc)
Rnd 8-12: sc in each st around (12
sc)
Rnd 13-14: hdc in the first 6 sts,
sl st loosely in the last 6 sts (6 hdc, 6 sl st)
Rnd 15: hdc in the first 6 sts, sl st in the next st, leave the remaining sts unworked (6 hdc, 1 sl st) fasten off, leaving a long tail to sew the arm to the body
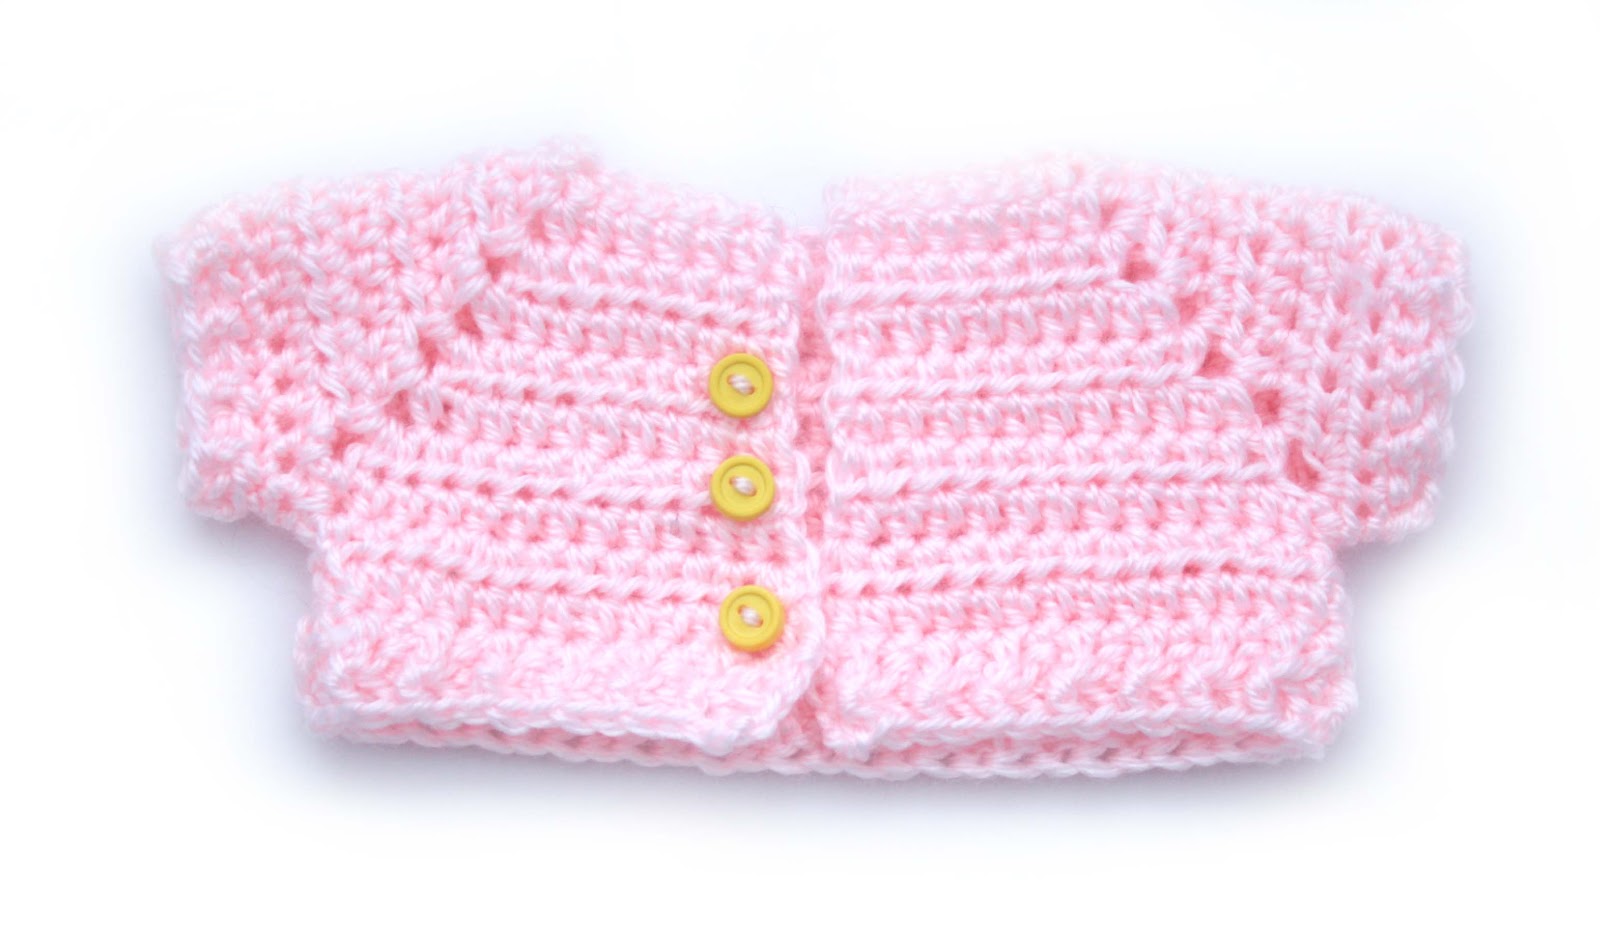
Sweater:
With F hook, ch 30
Row 1: sc in the second ch from the
hook, sc in the next 4 sts, 2 sc in the next st, sc in the next 3 sts, 2 sc in
the next st, sc in the next 9 sts, 2 sc in the next st, sc in the next 3 sts, 2
sc in the next st, sc in the last 5 sts, ch 1, turn (33 sc)
Row 2: hdc in the first 6 sts, (hdc,
ch 2, hdc) in the next st, hdc in the next 3 sts, (hdc, ch 2, hdc) in the next
st, hdc in the next 11 sts, (hdc, ch 2, hdc) in the next st, hdc in the next 3
sts, (hdc, ch 2, hdc) in the next st, hdc in the last 6 sts, ch 1, turn (37
hdc, 4 ch 2 spaces)
Row 3: hdc in the first 7 sts, (hdc,
ch 2, hdc) in the next ch 2 space, hdc in the next 5 sts, (hdc, ch 2, hdc) in
the next ch 2 space, hdc in the next 13 sts, (hdc, ch 2, hdc) in the next ch 2
space, hdc in the next 5 sts, (hdc, ch 2, hdc) in the next ch 2 space, hdc in
the last 7 sts, ch 1, turn (45 hdc, 4 ch 2 spaces)
Row 4: hdc in the first 8 sts, (hdc,
ch 2, hdc) in the next ch 2 space, hdc in the next 7 sts, (hdc, ch 2, hdc) in
the next ch 2 space, hdc in the next 15 sts, (hdc, ch 2, hdc) in the next ch 2
space, hdc in the next 7 sts, (hdc, ch 2, hdc) in the next ch 2 space, hdc in
the last 8 sts, ch 1, turn (53 hdc, 4 ch 2 spaces)
Row 5: hdc in the first 9 sts, (hdc,
ch 2, hdc) in the next ch 2 space, hdc in the next 9 sts, (hdc, ch 2, hdc) in
the next ch 2 space, hdc in the next 17 sts, (hdc, ch 2, hdc) in the next ch 2
space, hdc in the next 9 sts, (hdc, ch 2, hdc) in the next ch 2 space, hdc in
the last 9 sts, ch 1, turn (61 hdc, 4 ch 2 spaces)
Row 6: hdc in the first 10 sts,
(hdc, ch 2, hdc) in the next ch 2 space, hdc in the next 11 sts, (hdc, ch 2,
hdc) in the next ch 2 space, hdc in the next 19 sts, (hdc, ch 2, hdc) in the
next ch 2 space, hdc in the next 11 sts, (hdc, ch 2, hdc) in the next ch 2
space, hdc in the last 10 sts, ch 1, turn (69 hdc, 4 ch 2 spaces)
Row 7: hdc in the first 11 sts,
(hdc, ch 2, hdc) in the next ch 2 space, hdc in the next 13 sts, (hdc, ch 2,
hdc) in the next ch 2 space, hdc in the next 21 sts, (hdc, ch 2, hdc) in the
next ch 2 space, hdc in the next 13 sts, (hdc, ch 2, hdc) in the next ch 2
space, hdc in the last 11 sts, ch 1, turn (77 hdc, 4 ch 2 spaces)
Row 8: hdc in the first 12 sts, hdc
in the next ch 2 space, skip the next 15 sts, hdc in the next ch 2 space, hdc
in the next 23 sts, hdc in the next ch 2 space, skip the next 15 sts, hdc in
the next ch 2 space, hdc in the last 12 sts, ch1, turn (50 hdc)
Row 9: (2 hdc in the next st, hdc in
the next 6 sts) across, 2 hdc in the last st, ch 1, turn (58 hdc)
Row 10: hdc in each st across, ch 1,
turn (58 hdc)
Row 11: hdc in each st across, turn
(58 hdc)
Row 12: ch 3 (counts as the first
dc), (fpdc in the next st, bpdc in the next st) across until you have one
stitch left, dc in the last st, fasten off, leaving a long tail to sew the
buttons to the sweater.
Sleeves:
Rnd 1: hdc in the same st, place 17 more hdc evenly around the sleeve opening, join with a sl st, ch 1 (18 hdc)
Rnd 2: sc in each st around, join with a sl st (18 sc)
Rnd 3: ch 3 (counts as the first dc), (fpdc in the next st, bpdc in the next st) around, join with a sl st to the first dc, fasten off.
Repeat for the other sleeve.
Sew your buttons evenly onto your sweater. You can use as many buttons as you would like. I used 3 buttons for my sweater.
Sewing the Bear together:

Sew the ears onto the sides of the
bear’s head using the picture below as your guide:

Next, stuff and sew the arms to the
body of the bear. Be sure to stuff all
of your body parts very firmly. Sew your
arms onto the front of the body right under the head spaced about 2” apart.


Next, embroider the nose onto the
bear’s muzzle. This step is just optional :) I liked how my bear looked before I embroidered the nose too!


You are finished!!
Enjoy your Bear!
Amazing!!! Thanks for the pattern!
ReplyDeleteFor the legs, how do you "work underneath the stitches"?
ReplyDelete
DeleteHi! The legs are a little bit confusing on that very first rnd. It is almost like you are crocheting around in a circle, but for the legs it is an oval. So, you crochet around the top and the bottom untill you get to that first stitch you made. If you have ever made baby booties, sometimes the bottom of the bootie is crocheted in the same way. I hope that makes sense. Let me know if that helps :)
Hello! I was wondering how tall the finished bear is in inches. I am looking to either make my own clothing patterns or use some that I have found online and I need the size so I know if I have to alter them. Hope you have a blessed day and thank you!
ReplyDeleteHello Tahar! My guess is that this bear is about 7" tall with the yarn that I used and the gauge. This is just a guess because I have given all of the bears I have made away, but he is very close to 7". That measurement is sitting down. If you make him standing up he would be a bit taller. If you decide to use different yarn than I used, yours might turn out a different size. You could definetly make this bear using worsted weight yarn and he would turn out a little bit smaller.
DeleteMaybe it would help if you make him first, and then make the clothes. That way you can measure him as you go for a perfect fit :) Let me know how it turns out! Thanks!
This comment has been removed by the author.
ReplyDeleteLove this cute teddy... had fun doing it... & was a bit of a challenge due to the yarn I had used for teddy - a rather curly yarn that was difficult in terms of seeing where the stitches were, I had to kinda guess where stitches were & keep track each round but good fun! :-) (Love a challenge... *haha*) I used a left over yarn I had after completing a jumper for my baby due in Sept to make teddy's jumper so baby & teddy will have matching colored jumpers... cuteness... changed teddy's nose & added a little tail... Love it! Thanks heaps for the pattern... appreciate it! :-)
ReplyDeleteThank you so much! Sounds adorable :)
Delete